CampfireGuides
Culinary Field Guide

Campfire Pie Iron Recipes: Pudgie Pies, Pizza Pockets & Desserts

Master double-sided cast iron pie irons (pudgie irons, mountain pie makers). 16 tested recipes for breakfast pockets, crispy calzones, and sweet fruit hand pies with exact dough cook times, coal heat zones, and offline PDF cheat sheet.
By · Outdoor field-guide research and editingPublished Updated
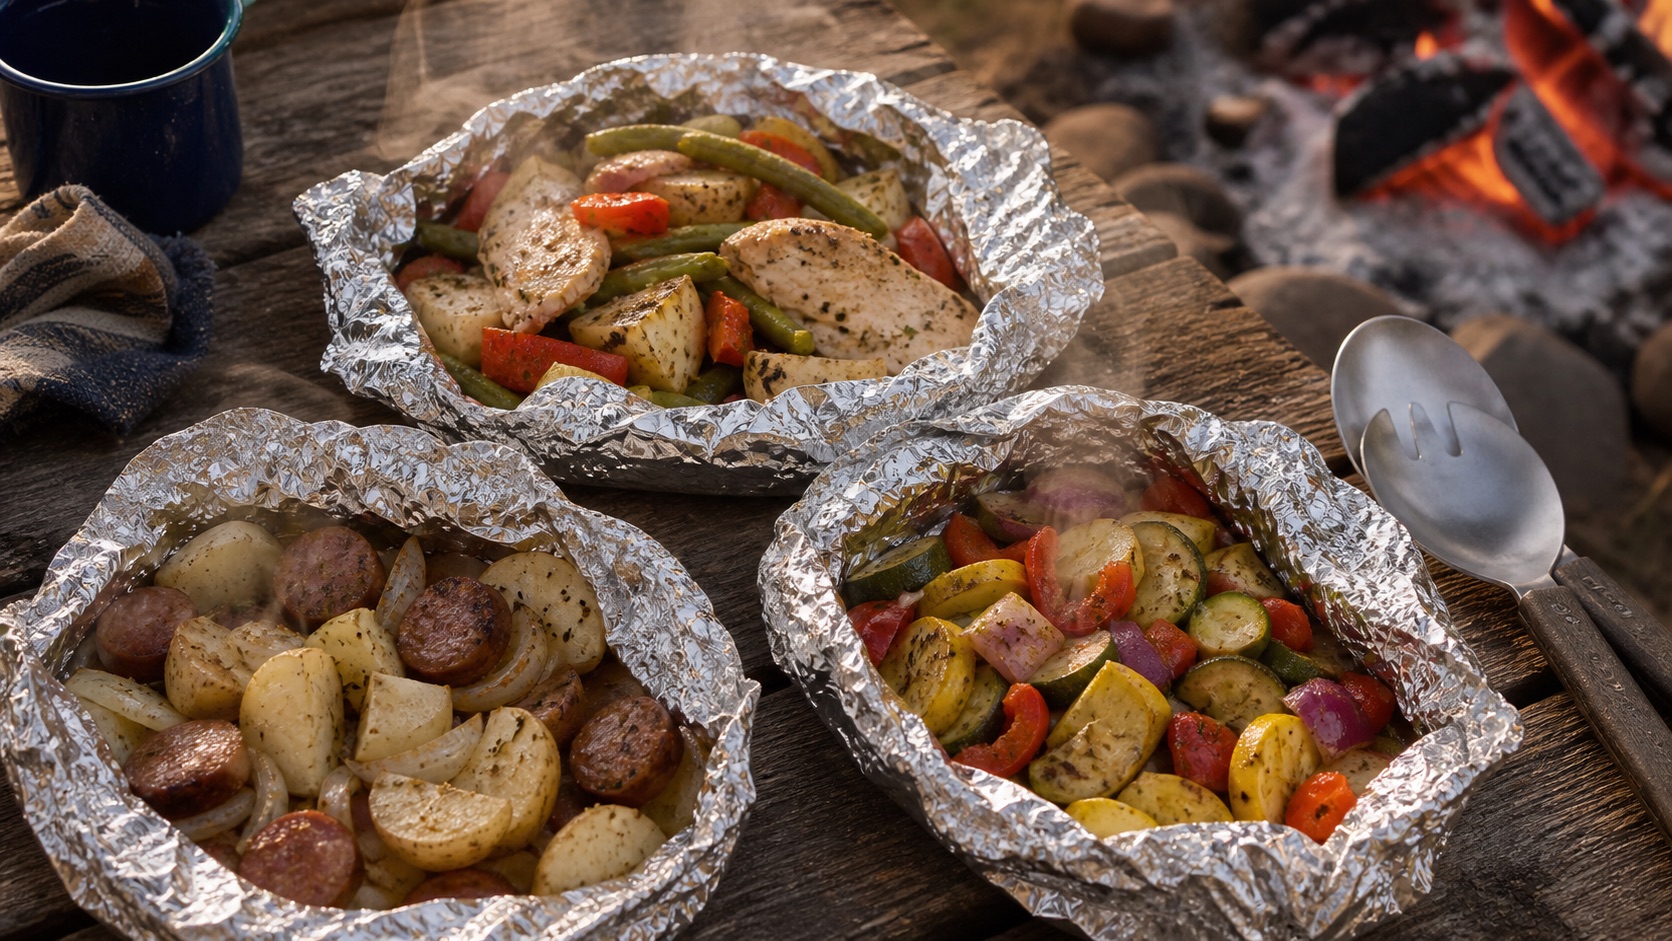
Freshly cooked campsite meals served beside a safe bed of campfire coals

Key Field Takeaways

  • 1Always butter the OUTSIDE of the bread slices crust-to-crust for golden crunch and clean non-stick release.
  • 2Cook over glowing gray embers or campfire grates—never roaring open flames which char outer bread in 30 seconds.
  • 3Leave a 1/2-inch perimeter clear around fillings so the iron teeth crimp the dough into a sealed, leak-proof pocket.
  • 4Flip every 90 seconds for standard bread, and every 60–75 seconds for sugar-rich crescent roll dough.
Social Sharing & Field Cheat Sheets

Share With Your Camp Squad

Share this free field resource
Interactive Campsite Tool & Timing Engine

Campfire Pie Iron Recipe Builder

Select your crust type and meal craving. Calculate exact coal heat times, flip cadences, and portion-scaled ingredients for zero-mess pudgie pies.

Selected: Breakfast & Savory Melts

Scales ingredient measurements dynamically for campfire prep.

Crust Profile: Standard Sandwich Bread

Seal Rating: 5/5
Cook Time2 mins / side
Flip CadenceEvery 90s
Coals TargetMedium Embers
Release & Buttering Rule:Heavily butter the outward-facing sides of both slices from crust to crust.
Pro Secret: Standard white, potato, or sourdough bread crimps perfectly in cast iron edges. Avoid super-thick artisan slices that prevent the iron from latching.
Cadence Flip Timer
Flips: 0

Turn pie iron every 90 seconds to guarantee even melting without charring.

1:30Ready to Time
Showing 15 Tested Campfire RecipesClick recipe to expand ingredients & assembly
Scaled Ingredients (4 pockets)Check items as you pack
8 slices Sandwich bread slices
4 tbsp Butter or garlic herb spread
6 tbsp Thick marinara or pizza sauce
20 slices Pepperoni slices
12 tbsp Shredded mozzarella cheese
1 tsp Italian seasoning / oregano
Step-by-Step Coals Assembly & Cooking
  1. 1Preheat iron on coals for 90 seconds.
  2. 2Butter the outside faces of both bread slices.
  3. 3Lay bottom slice butter-side-down into the iron.
  4. 4Spread pizza sauce into center well, layer pepperoni, sprinkle mozzarella and Italian herbs.
  5. 5Top with second slice butter-side-up, latch clamp tightly, and trim any bread crust overhang.
  6. 6Toast over medium coals for 2 mins, flip and toast 2 mins more until molten and crispy.
Leak-Proof Seal Tip

Do not exceed 1.5 tbsp of pizza sauce; excess sauce boils and breaches the bread seal.

Campfire Flavor Secret

Sprinkle a pinch of garlic powder directly onto the buttered outer bread for garlic-bread-crust flavor.

Golden Ember Rule vs Roaring Flames

Direct flames burn food before the interior melts. Always cook over medium-low wood embers raked to the side of the pit, or rest your iron across a campfire grill grate 4–6 inches above the coals.

Zero-Leak Perimeter Principle

Always leave a 1/2-inch bare perimeter around bread or dough edges. When the cast iron latches shut, the teeth clamp the outer dough together to create a sealed pocket.

01.What Sort of Dough Works Best in a Pie Iron?

Different doughs behave distinctly against hot cast iron under pressure. Standard sandwich bread (white, potato, or sourdough) is the gold standard for savory melts and breakfast pockets because it crimps hermetically and toasts in 4 minutes total. Canned crescent roll dough produces flaky, buttery calzones and dessert hand pies (2.5 mins per side over low coals). Canned buttermilk biscuit dough needs gentler radiant heat (3.5 mins per side) so the raw center cooks through without charring. Flour tortillas create crunchy chimichangas in under 3 minutes, while puff pastry delivers bakery-grade fruit turnovers.

02.The Coals Technique: Why Open Flames Ruin Pie Irons

The most common beginner mistake is thrusting a cold pie iron into roaring campfire flames. Open wood fires exceed 1,400°F, instantly carbonizing outer dough while the interior cheese and fillings remain refrigerator-cold. For golden-brown results, rake a flat bed of glowing gray wood embers to the side of your fire ring, or rest the iron on a campfire cooking grate 4 to 6 inches above coals. Preheat the iron for 90–120 seconds, assemble your sandwich, clamp the handles, and flip with strict cadence every 75 to 90 seconds.

03.The Zero-Mess Crimping & Leak-Prevention Rules

Pie irons rely on perimeter tension: when the top and bottom plates meet, the bevelled metal rim pinches the dough edges together into an airtight crimp. To prevent explosive blowouts: (1) keep total wet fillings under 2 tablespoons, (2) pat watery canned fruit or sauerkraut dry with a towel before assembling, (3) leave a 1/2-inch dry perimeter around all edges, and (4) trim any bread crust or raw dough extending past the hinge before placing over coals.

04.Cast Iron vs Cast Aluminum: Which Pie Iron Should You Buy?

Heavy cast iron pie irons (such as Rome Industries or Camp Chef) hold steady, radiant heat that toasts bread evenly and withstands decades of rugged campfire use. Lightweight cast aluminum irons heat faster and are easier for young children to hold, but they scorch food much more easily and will permanently warp or melt if accidentally left on high campfire coals.

Frequently Asked Questions